Platform Basics#
This guide covers the basic AUP Learning Cloud workflow: signing in, choosing an environment, understanding storage, and stopping your server when you are done.
For environment-specific usage, see JupyterLab Guide and Code Server Guide.
What AUP Learning Cloud Provides#
AUP Learning Cloud is a browser-based remote learning and development platform. You can use course environments, notebooks, terminals, GPU-enabled runtimes, and browser-based IDE sessions without configuring the full software stack on your local computer.
You need:
A computer with network access
A modern browser such as Chrome, Edge, or Firefox
A GitHub-authorized account or a local platform account
Open The Platform#
Open the platform URL in your browser:
https://tpe.aupcloud.io/
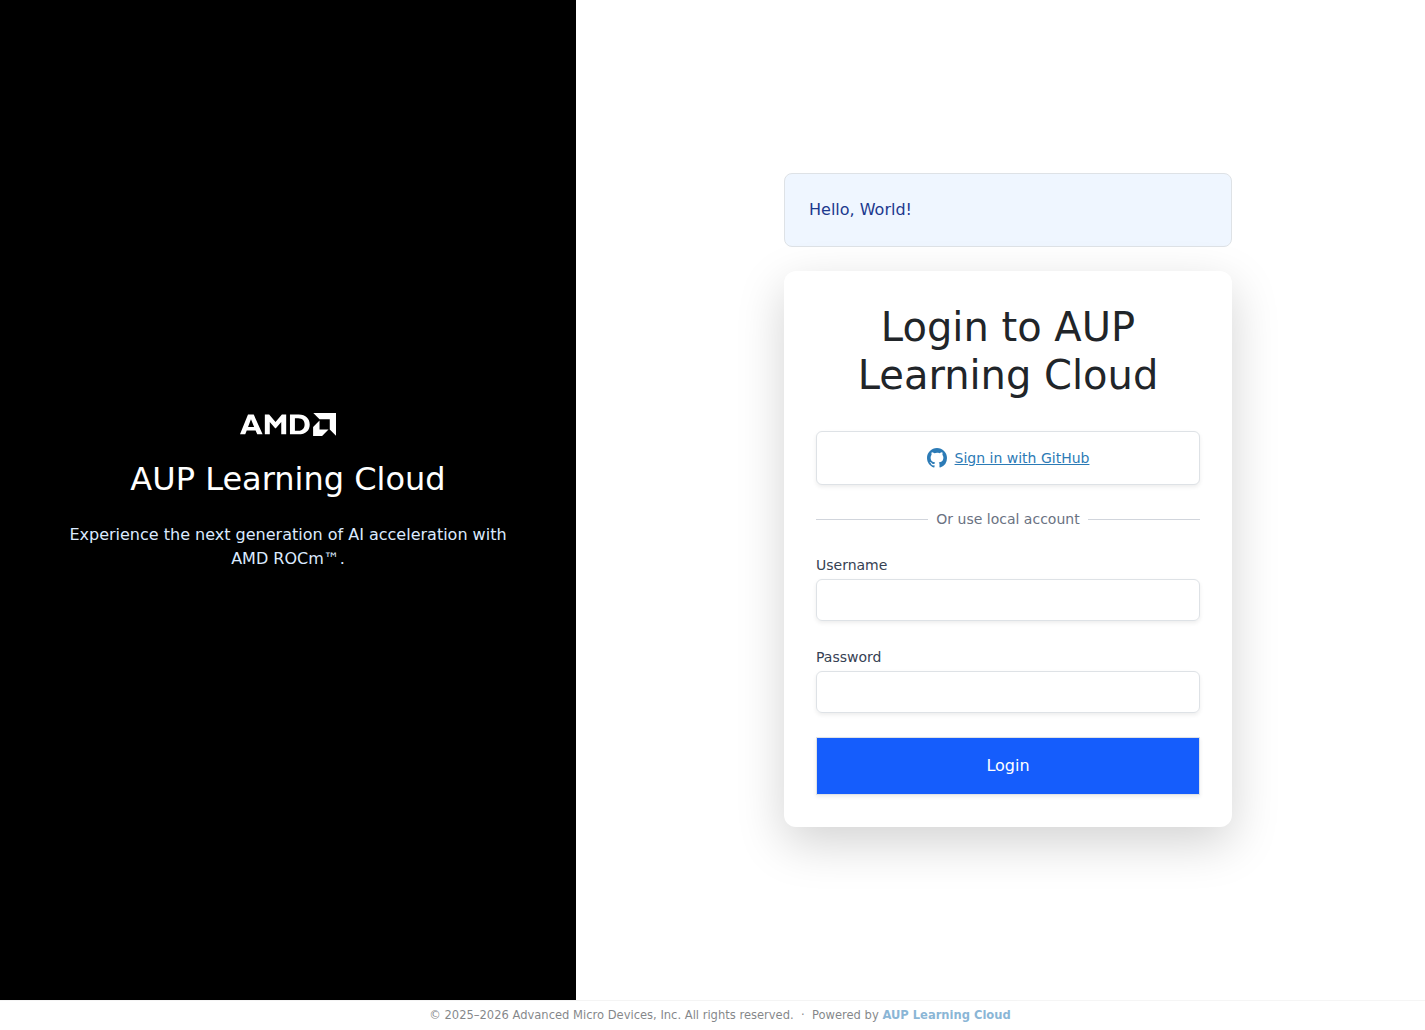
Sign In#
The platform can provide two login methods. Your administrator will tell you which one to use.
Login method |
When to use it |
|---|---|
GitHub login |
Recommended when your GitHub account has been authorized for the course or lab. |
Local account login |
Use this when an administrator has created a username and password for you. |
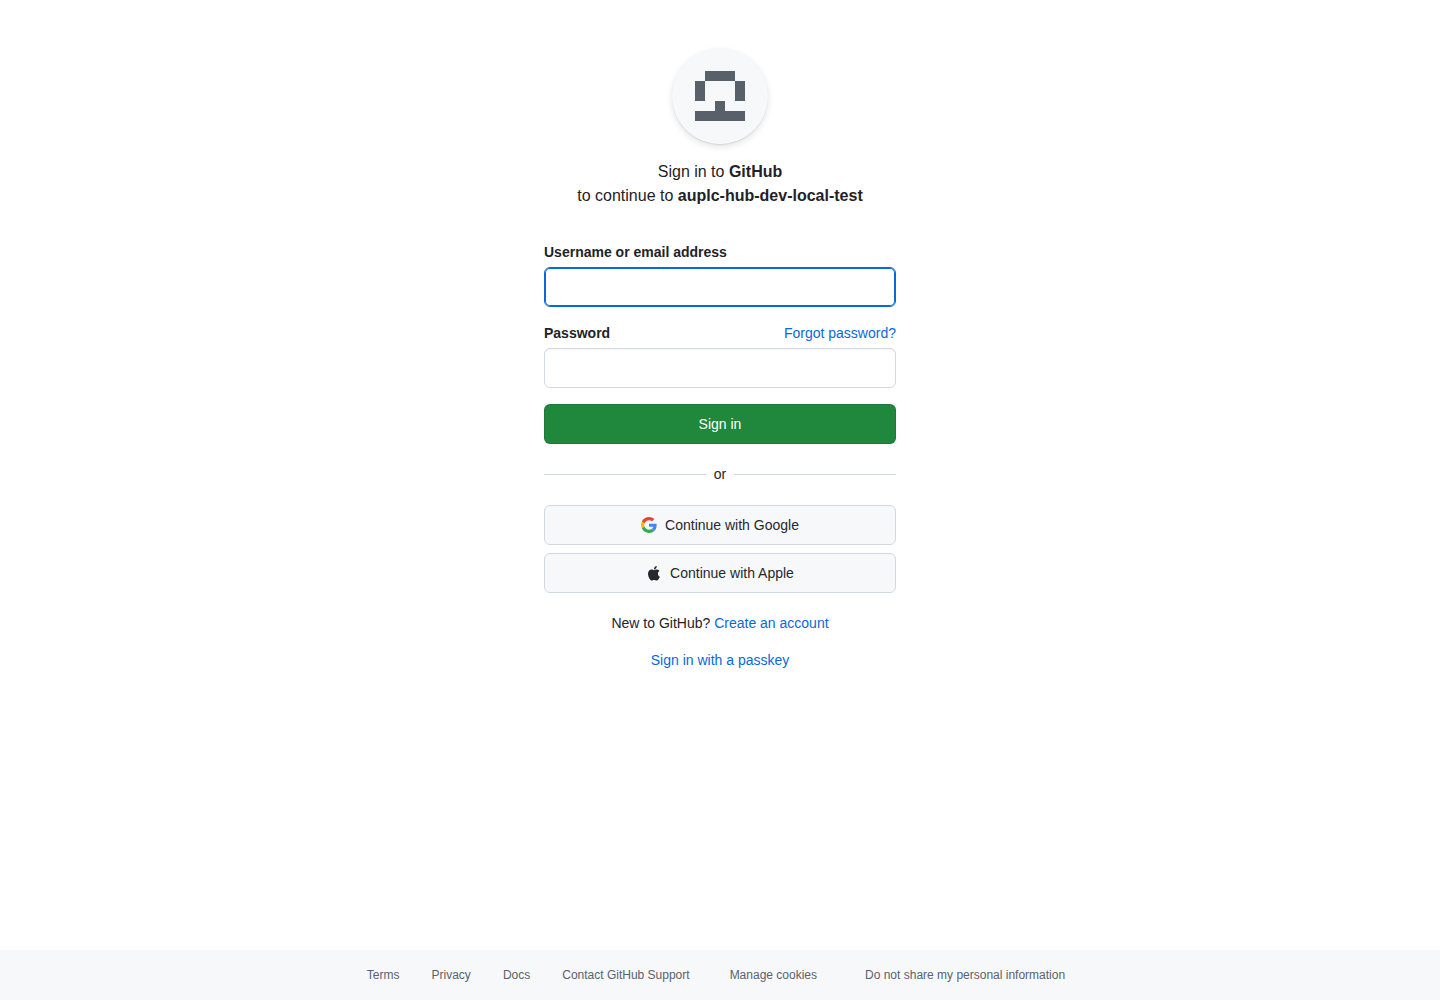
GitHub Login#
Click Use GitHub Login.
The browser redirects to GitHub.
Select the authorized GitHub account.
Approve the authorization request.
After authorization, the browser returns to AUP Learning Cloud.
Local Account Login#
If you need a local account, ask the administrator for access. The administrator will provide your username and initial password.
Enter your username and password on the login page.
Click Use LocalAccount Login.
If prompted, change your initial password before continuing.
If you forget your local account password, contact the administrator.
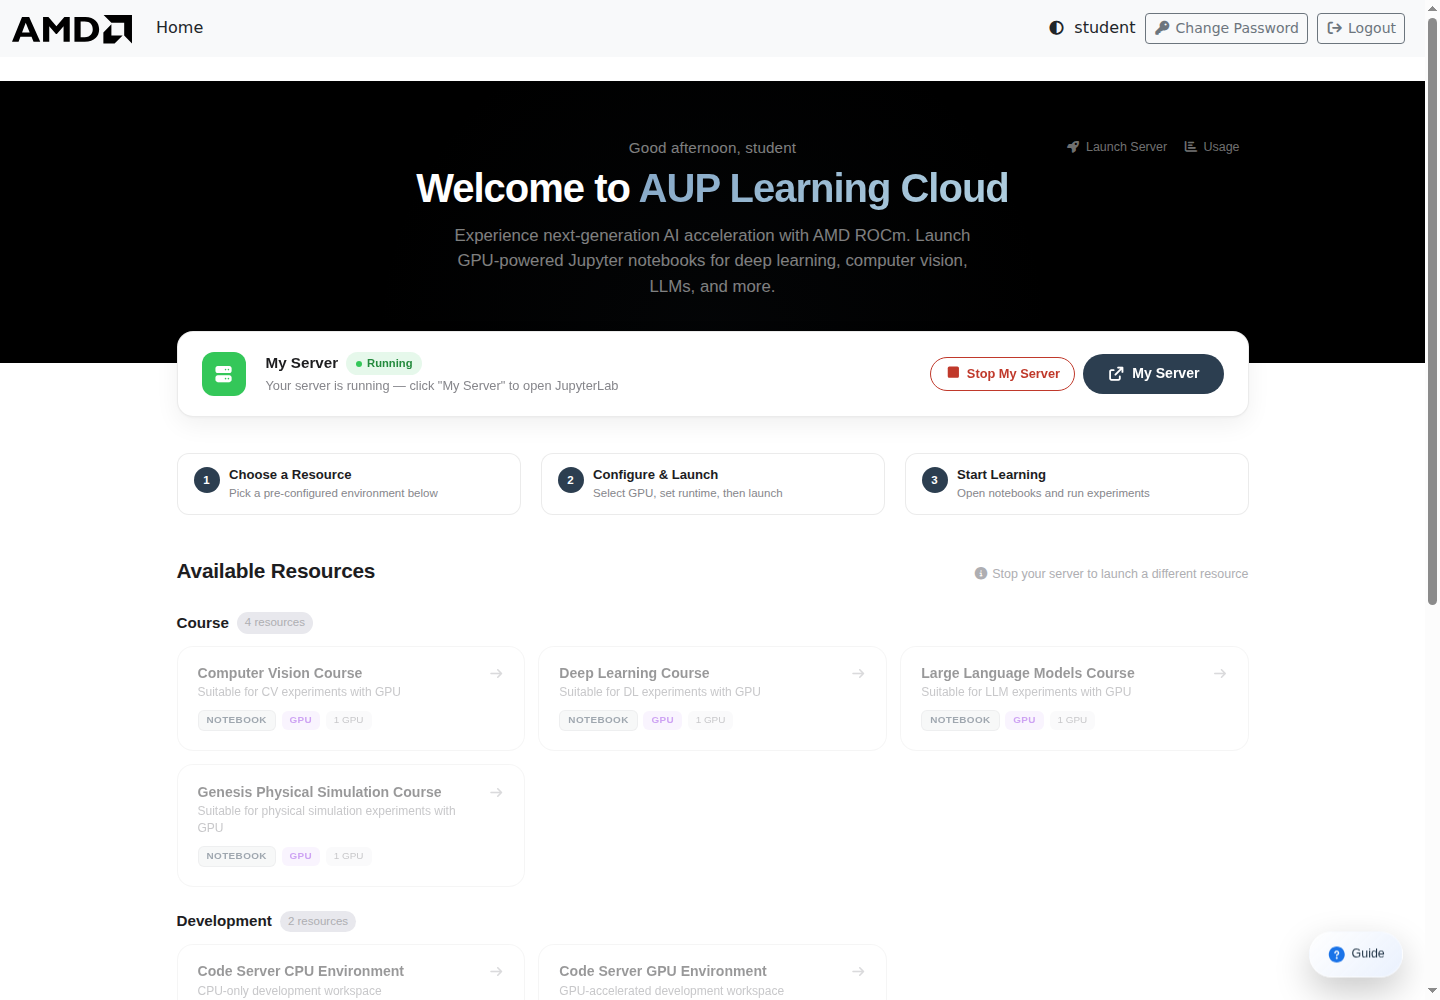
Choose An Environment#
After login, the platform shows a resource selection page. The exact list depends on your course, account permissions, and available hardware.
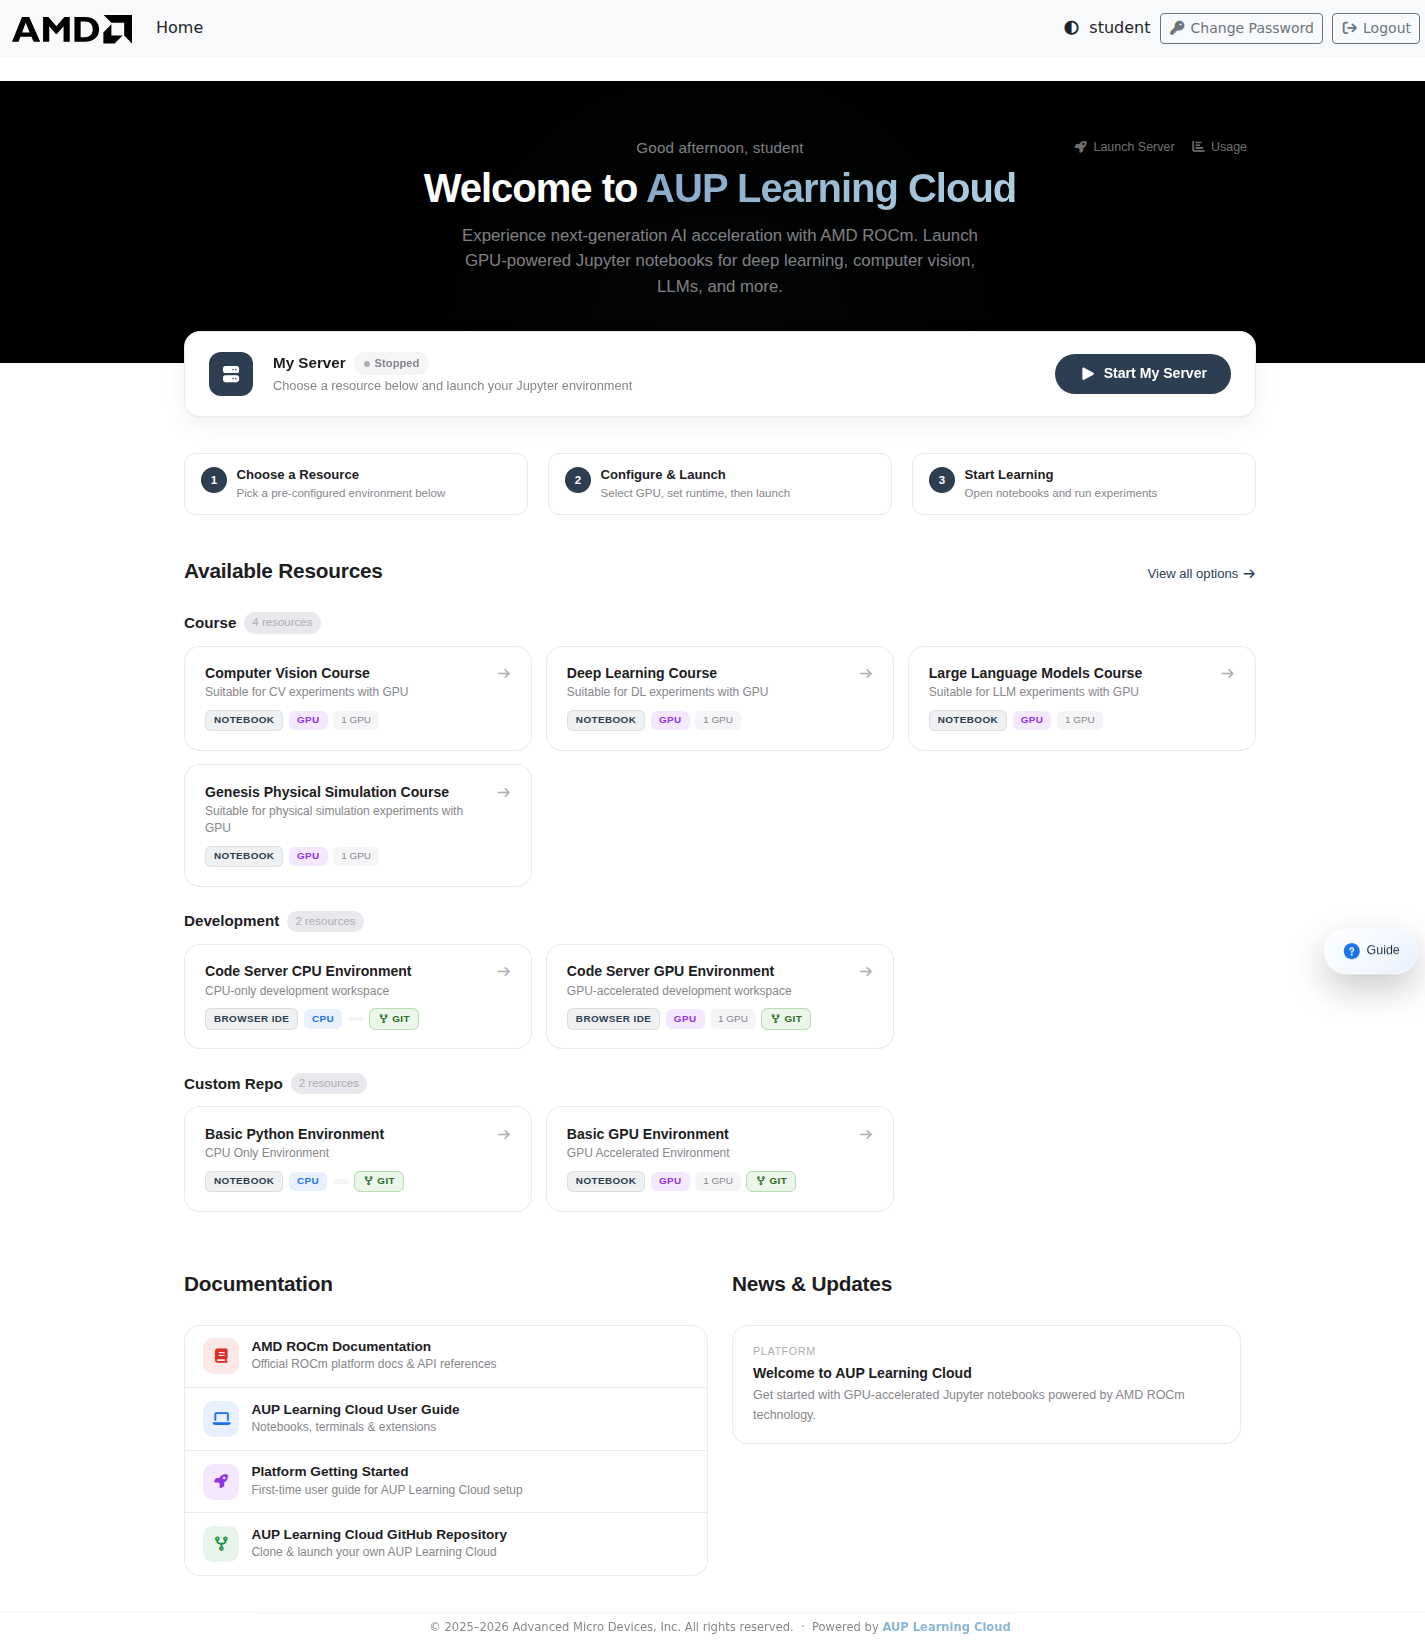
Common resource categories include:
Category |
Examples |
Typical use |
|---|---|---|
Course |
Computer Vision, Deep Learning, Large Language Models, HIP Programming, Genesis Physical Simulation |
Course notebooks and lab materials |
Development |
Code Server CPU Environment, Code Server GPU Environment |
General coding, IDE workflow, terminal tasks |
Test |
HIP and ROCm Notebook Test |
Environment validation and quick tests |
Tutorial |
Introduction to HIP |
Guided tutorial content |
Custom Repo |
Basic Python Environment, Basic GPU Environment |
Custom repository or base-image work |
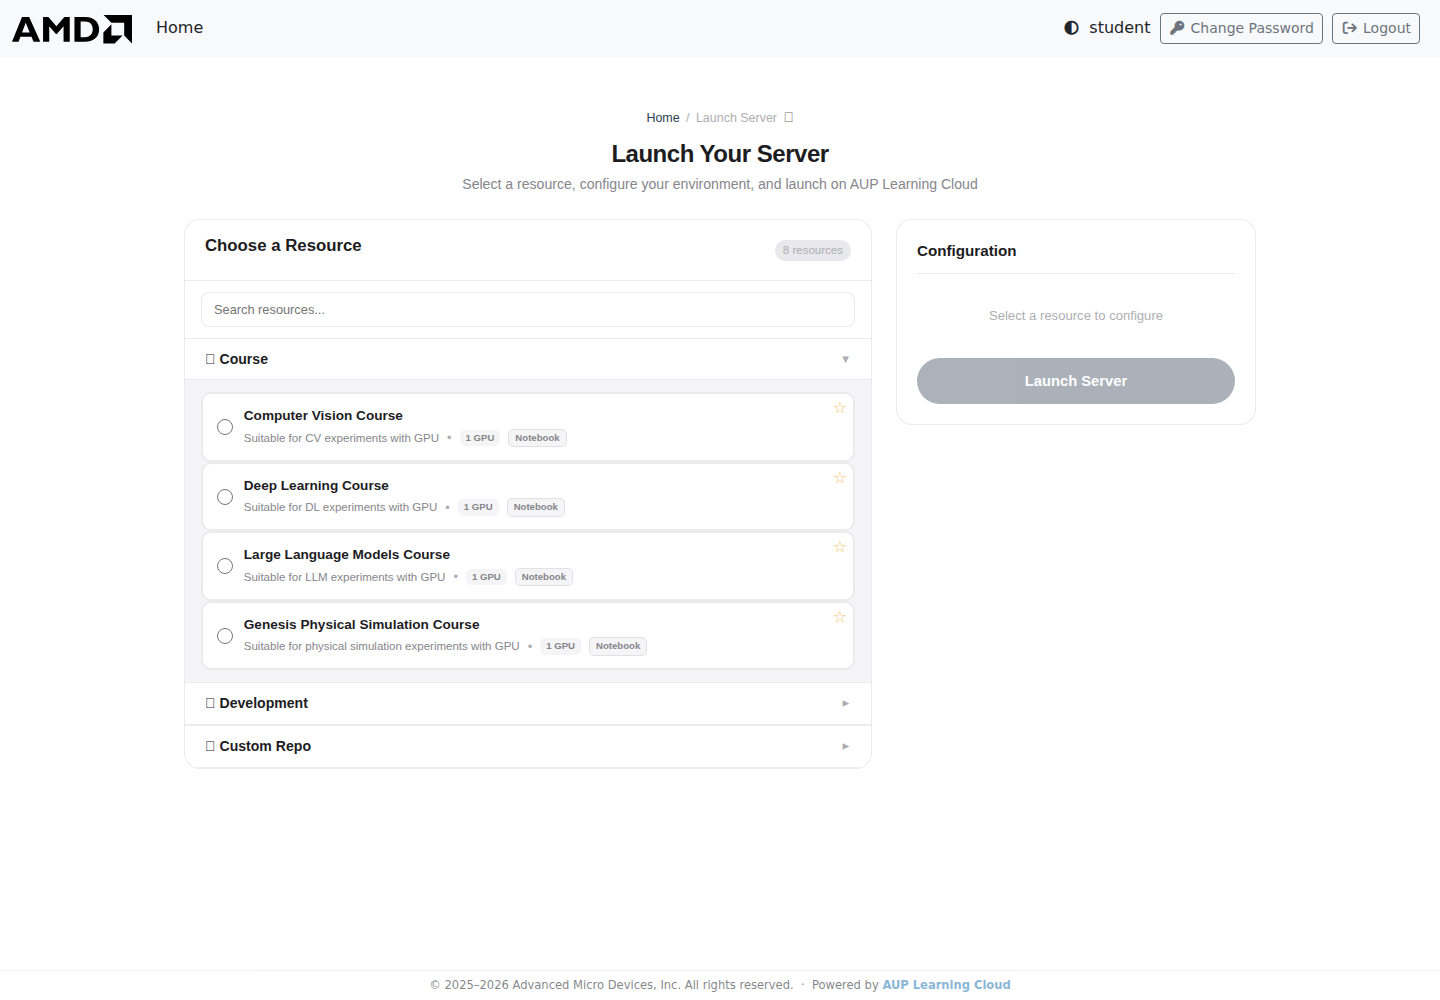
Launch A Server#
Select the environment you want to use.
Select hardware resources, such as CPU or GPU, if options are shown.
Choose the runtime duration.
Click Launch Server.
Wait for the server to start.
The browser opens the selected interface, such as JupyterLab or Code Server.
Important
When the runtime duration expires, the platform may stop the server. Files that are not saved in the persistent user directory can be lost.
Save Important Files#
Pay close attention to where your files are stored.
Path |
Purpose |
|---|---|
|
Default working directory in many images. It is useful for course materials, but content may be reset when the environment stops or changes. |
|
Persistent user directory. Save important work, assignments, notebooks, and results here. |
If you created files in the default working directory and want to keep them, copy them to /home/jovyan before stopping the server:
bash
cp <file-or-directory-to-save> /home/jovyan/
Warning
Do not rely on the default working directory for important work. Use /home/jovyan for files you need after the current session ends.
Stop Your Server#
When you finish working, stop your server to release shared resources.
Save your notebooks, code, and output files.
Confirm important files are in
/home/jovyan.Return to the JupyterHub control page.
Click Stop my server.
Wait until the server has stopped before closing the browser tab.
Important
Closing the browser tab or logging out does not always stop the remote server. Use Stop my server when you are done.
Common Issues#
The page does not open or loads slowly#
Check your network connection.
Refresh the page.
Try Chrome, Edge, or Firefox.
Contact the administrator if the platform is still unavailable.
I already started one environment and want to switch#
Stop the current server first by clicking Stop my server. Then return to the resource selection page and launch the new environment.
My files disappeared after restart#
Check whether the files were saved under /home/jovyan. Files kept only in a temporary or image-provided working directory may be reset after a server stop, timeout, or image change.
Good Practices#
Save work frequently.
Keep important files in
/home/jovyan.Use clear file names instead of generic names such as
test.ipynb.Split large experiments into separate notebooks or scripts.
Stop your server when you are not using it.
When asking for help, include the environment name, error message, and steps you tried.